H-Office Auto Task Workflow Quick Guide

Auto Task Workflow
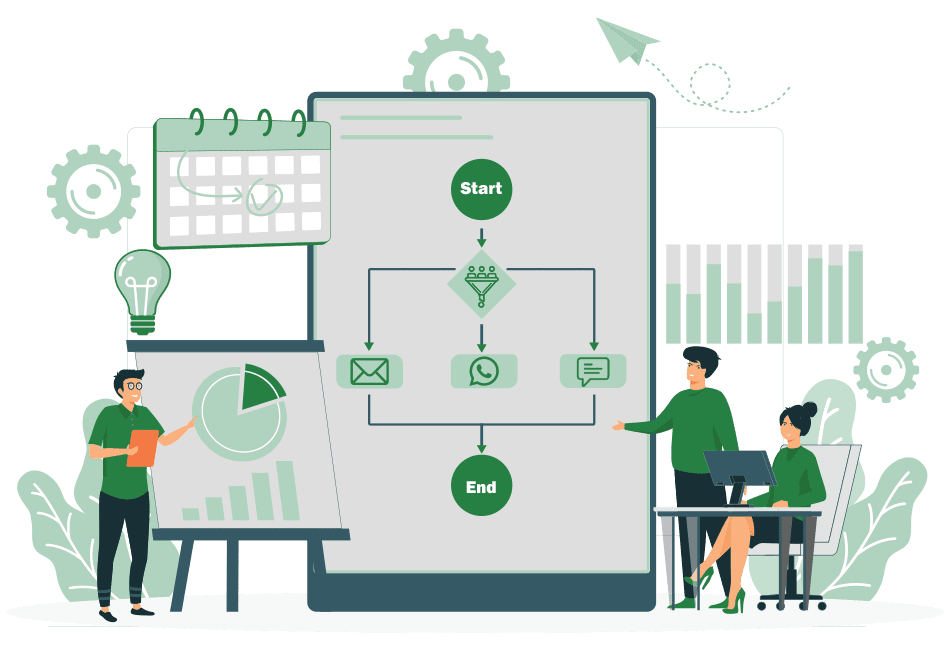
An Auto Task Workflow is a predefined sequence of tasks that are automatically triggered in a specific order. This automation ensures that tasks are systematically assigned and managed without manual intervention, enhancing efficiency and reducing the potential for oversight. When one task in the workflow is completed, the system automatically assigns the next task to the appropriate individual, following the predefined sequence. This process continues until all tasks in the workflow are completed.
In the H-Office Task setup, Auto task workflow can be set as active or inactive, edited after creation, and deleted if necessary.
Note that if this auto task workflow has been used in the frontend, it cannot be deleted.
How Auto Task Workflow Operates
- Task Sequencing: In an Auto Task Workflow, tasks are arranged in a logical order based on the project’s requirements. The sequence determines the flow of work, where each task is dependent on the completion of the previous one.
- Automatic Task Assignment: Once a task is completed, it should be closed then the system automatically assigns the next task in the sequence. This assignment is based on predefined rules or conditions set during the workflow design.
- Dependency Management: Tasks within an Auto Task Workflow are often dependent on the completion of prior tasks. This ensures that all prerequisites are met before moving on to subsequent tasks, maintaining the project’s integrity and flow.
- Efficiency and Consistency: By automating task assignment and sequencing, an Auto Task Workflow reduces the need for manual intervention, minimizes delays, and ensures that tasks are completed in a consistent manner. This leads to greater efficiency and a more streamlined project management process.
Example:-
Each task includes details on the duration, priority, responsible person, and related activities, ensuring the recruitment process is organized and efficient. This example outlines a sequence of tasks involved in a hiring process:
- Post Job Advertisement: The Manager, “Alice Smith”, is responsible for creating and posting a job ad. This task is high priority and should take 2 days, with a 20% weightage on the overall project.
- Review Applications: The Recruitment Team, led by John Doe, reviews the applications to shortlist candidates. This medium-priority task is set to take 3 days, with a 25% impact.
- Schedule Interviews: HR Assistant, “Jane Smith”, schedules interviews with the shortlisted candidates. This high-priority task will take 1 day, with a 15% impact.
- Send Offer Letters: HR Manager, “Aditi”, sends offer letters to the selected candidates. This medium-priority task will take 3 hours, with a 10% impact.
- Onboarding Preparation:
HR Assistant, “Charlie Lee” prepares onboarding materials and the orientation schedule for new hires. This medium-priority task will take 4 hours, with a 30% impact.
Now lets see how this could be configured in the system.
Example: “Hiring Process” as the title for a task related to recruiting new employees.
Auto Task Title: This is manually entered by the user and serves as the short name that defines what your task workflow involves.
Add New Auto Task Workflow
Setup->Task->Auto Task Workflow->Add

- Sub Task Name: The name of a specific task or action within a series of tasks.
Example: “Review Applications” - Priority: This indicates the urgency or sequence in which the task should be executed. It is typically ranked from 0, guiding the order of task completion.
Example: If there are 5 tasks, the task having “0” priority will be executed first and followed by 1, 2, and so on. - Duration: The time expected to complete the task, usually entered in days, hours, or minutes.
Example: Select the duration from the dropdown menu accordingly - Estimated Time: This field predicts the total time required to complete the task or action. If days, hours, or minutes are selected in the duration, the user must input the corresponding value.
Example: If days are selected in duration, then write the number of days to complete the task - Weightage (%): The significance or impact of the task on the overall project, expressed as a percentage.
Example: 15%
Note:- The weightage of all tasks should be 100 in total - Designation: This identifies the job title or role of the employee responsible for executing the task. It specifies who is accountable for task completion.
Example: “HR”. - Assign To: The specific employee designated to handle the task.
Example: “Alice Smith.” - Activity: The broad category or phase of work to which the task belongs. You can add the task activity accordingly.
Example: “Paper Work Approval” - Sub Activity: A more specific action under the main activity.
Example: “Offer Letter” - Description: A detailed explanation of what the task entails. It outlines the task’s objectives, scope, and key details for execution.
Example: “Create and post a job advertisement on various platforms” - Publish on Portal: Indicates whether the task should be made visible on the portal.
Example: Select “Yes” or “No” from the dropdown accordingly - Mandatory Task: Specifies whether the task must be completed before subsequent tasks can begin. Tasks marked as mandatory must be closed before moving to the next precedence task.
Example: Select “Yes” or “No” from the dropdown accordingly - Template Lookup: This field refers to a pre-defined template used for similar tasks to maintain consistency.
Example: Select the template from the dropdown accordingly - Employee Group: The group of employees is responsible for completing the task. It helps coordinate the task within the organization.
Example: “Recruitment Team”
Delete: A button that allows to remove or delete the entire task.
Compose Auto Task
Activity->Task->Compose Auto Task
- Navigate to the Activity Tab located next to the Marketing in the top navigation menu
- Once you’re on the Activity page, click on the “Compose Auto Task” button to begin the process of adding a new auto task to your H-Office CRM.

- Autotask: Select a predefined task from a dropdown menu that has been set up in the system.
Example: Choosing “Hiring” from the dropdown list for tasks related to recruitment. - Subject: The main topic or title of the task that describes what the task is about. The system will automatically fetch the subject from the autotask, but you can edit the subject accordingly.
- Company: The name of the organization associated with the task. Select the company from the dropdown accordingly.
Example: “Horus Tech Solutions Private Limited” - Branch: Specifies the particular branch or location of the company involved in the task. Select the branch from the dropdown accordingly.
Example: “Main Branch.” - Start Date(%): The date on which the task is scheduled to begin.
Example: Select the date and time by clicking on the box - Category: The classification of the task based on its type or purpose. Select the category from the dropdown menu accordingly.
Example: “Consultants” - Contact / Prospect: The specific individual or potential client related to the task. It is based on the selection of the category.
Example: “John Doe (Prospect)” who comes under consultants category is an individual who is related to this task.- Include as Followers: Option to add people who should be kept informed about the task’s progress.
Example: Adding “Jane Smith” as a follower to receive updates on the task.
- Include as Followers: Option to add people who should be kept informed about the task’s progress.
- Products: The products associated with the task, often used in sales or support tasks.
Example: “Computers.” - Products Qty: The quantity of products related to the task.
Example: “5” - Is Schedule Task? This field offers two options in a dropdown menu, allowing you to choose how the task will be scheduled.
- Regular Task Workflow: The start date is crucial as the workflow depends on when the task begins. When this option is selected, the start date must be added, and the Auto Task Workflow operates based on the start date.
Example: The hiring process falls under regular task workflow since it depends on when the recruitment activities begin. - Target Schedule Wise Workflow: The end date is key for tasks that need to be completed by a specific deadline. When this option is selected, the system will automatically assign dates for each task based on the start and end date, ensuring that the tasks are completed within a specified timeframe.
Example: A project submission deadline where all tasks, such as drafting, reviewing, and finalizing documents, must be completed by a specific(targeted) date.
- Regular Task Workflow: The start date is crucial as the workflow depends on when the task begins. When this option is selected, the start date must be added, and the Auto Task Workflow operates based on the start date.
- Related to: Links the task to a specific lead, product, or another entity within the system for context.
Example: Selecting a lead and then linking it to a particular contact associated with that lead. - Priority: Indicates the urgency or importance of the task, often categorized as high, medium, or low. Select priority from the dropdown menu accordingly.
Example: Setting the priority to “High” for a task that needs immediate attention. - Status: The current stage of the task, such as in progress, or completed.
Example: Marking the status as “In Progress” when work on the task has begun. - File Attachments: Allows you to attach relevant documents or files to the task for easy access. Also, there is an option to attach a file directly from the Document Management System (DMS).
Example: Uploading a “Contract Agreement” file to the task. - Followers: Individuals who are added to receive updates and notifications about the task’s progress.
Example: Adding “Mark Johnson” as a follower to keep him informed about the task. - Send Notification to Followers: Enables sending updates or alerts to the followers via email or SMS.
Example: You can choose Email or SMS or Both


