

Remember
- In H-Office, a prospect is someone identified as having the potential to become a customer or vendor but hasn't yet shown specific interest. Differentiating prospects from leads is crucial: leads have expressed interest, while prospects are still being nurtured.
- You might see alternative labels like "Potential Customer" or "Potential Vendor" in H-Office, depending on your organization’s preferences. Properly categorizing and managing prospects helps streamline your sales and marketing efforts, ensuring targeted engagement and effective follow-up.
Accessing the Prospect Module
To add a new prospect, navigate to the Marketing > Prospect Tab located next to the Customers in the top navigation menu. Click on the “Add New Prospect” button to begin entering the details of a new prospect into the system.
Prospect Information
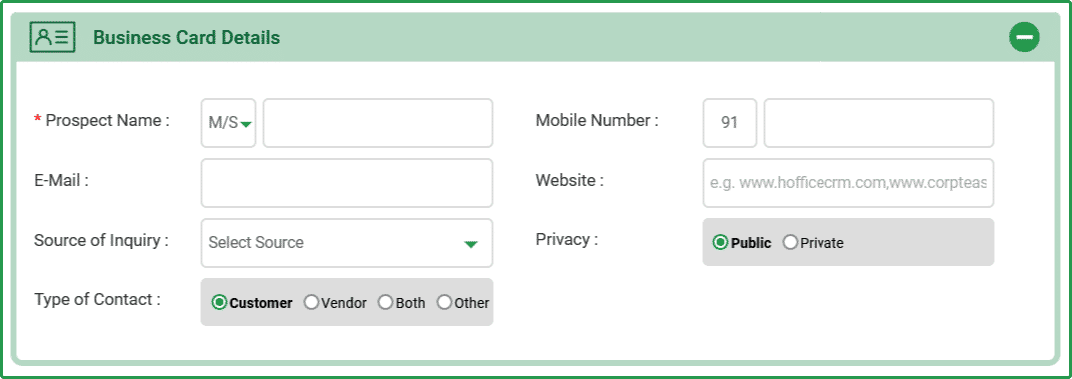
In this section, you can input key details about your prospect, making it easier to manage and engage with them effectively. Follow these steps and refer to the screenshot for guidance:
-
- Prospect Name: Enter the full name of the prospect. This is a mandatory field.
- Mobile Number: Input the primary contact number of the prospect. This field is essential for direct communication.
- E-Mail: Enter the prospect’s email address, ensuring you have a way to follow up electronically.
- Website: If the prospect is a business, enter their website URL.
- Website: If available, provide the website URL of the contact’s business.
- Source of Inquiry: Indicate how the prospect was generated or the source from which the inquiry originated. This could be a referral, marketing campaign, or direct inquiry.
- Privacy:Choose between ‘Public’ or ‘Private’ to determine who can view this prospect within your organization.
Prospect Information
- Customer:Select if the prospect is a potential customer.
- Vendor:Choose if the prospect is a potential supplier or partner.
- Both:Select if the prospect could serve as both a customer and vendor.
- Other:Use this option for any other type of contact not covered above.
Address Details
Enter the address information for the prospect:
- Type of Address: Choose the type of address (e.g., Headquarters, Branch, etc.).
- Address Line 1 & 2: Enter the full address details.
- Area, City, District: Specify the location details.
- Zip / Pin Code:Enter the postal code for the address.
- Country, State: Select the appropriate country and state.
- Additional Mobile Number: Add an alternative contact number if available.
Additional Information
This section allows you to include further details about the prospect: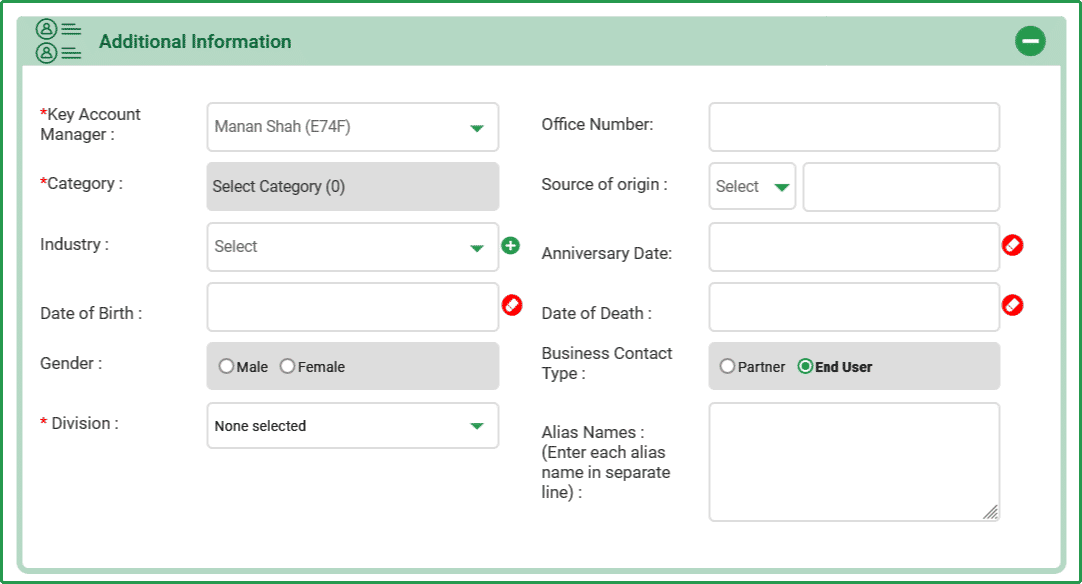
- Key Account Manager: Assign the primary contact within your organization responsible for managing this prospect.
- Office Number: Enter the office landline number.
- Category: Select the category that best fits the prospect.
- Source of Origin: Specify where this prospect originated from.
- Industry: Choose the industry the prospect belongs to or add a new one if not listed.
- Anniversary Date, Date of Birth, Date of Death: Record important dates associated with the prospect.
- Gender: Select the gender of the prospect if applicable.
Custom Groups & Fields
Tailor your prospect management by applying custom groups and fields that align with your specific business processes.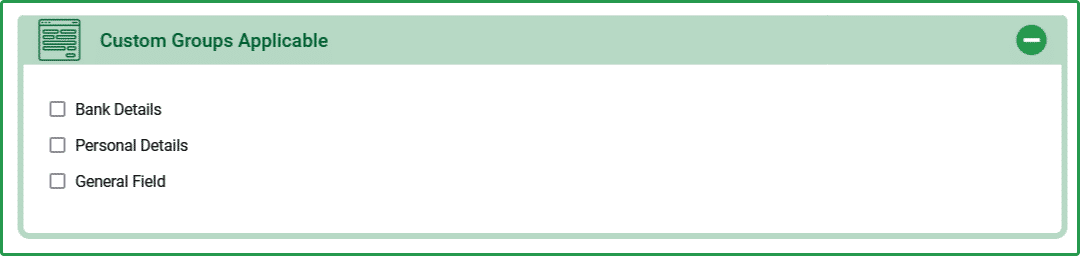
Statutory Details
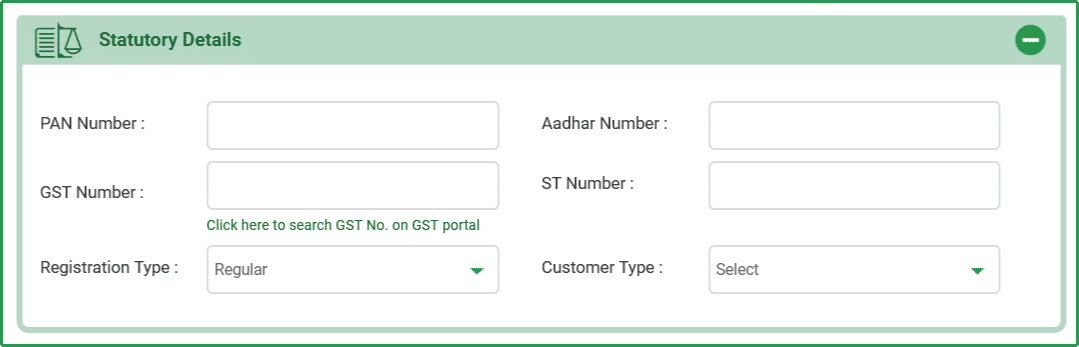 Record legal and regulatory information related to the prospect:
- PAN Number, Aadhar Number: Input the prospect’s tax identification details.
- GST Number: Enter the GST number and verify it on the GST portal.
- ST Number: Provide the Service Tax number if applicable.
- Registration Type, Customer Type: Classify the prospect based on their registration and customer type.
Sales & Purchase Settings
Configure sales and purchase preferences for the prospect: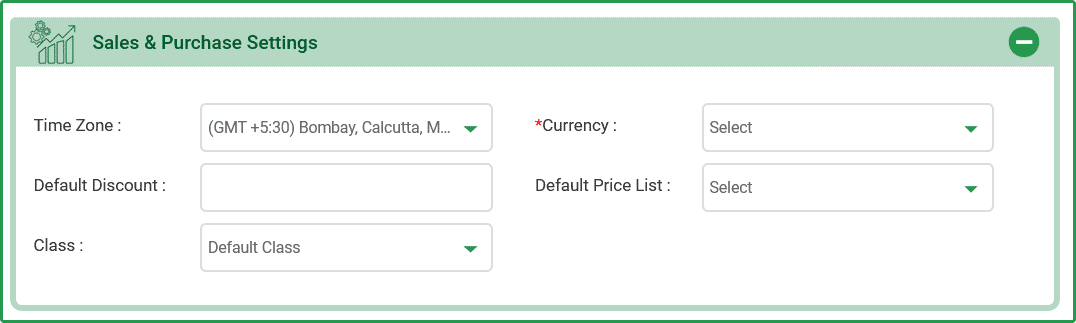
- Time Zone, Currency: Set the default time zone and currency for transactions.
- Default Discount: Specify any default discounts applicable to the prospect.
- Default Price List: Choose the default price list for sales or purchases with this prospect.
- Class: Categorize the prospect for easier management.


Communication & Social Media
Manage the prospect’s communication and social media details: